Foreword
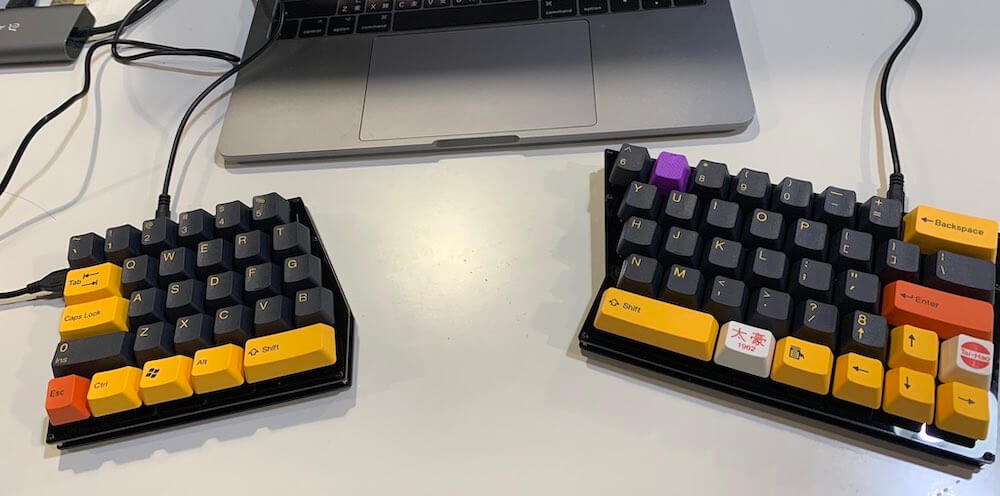
I just buy a keyboard named mint60 from ErgoTawian due to my stiff shoulders, which must be caused by working too long hours lol.
The default keymap is much different from mac’s, so that I want to remap according to guides online.
This article is about to flash a brand new keymap to Mint60.
Prepare keymap
First, we need to setup a new keymap we want, just go to QMK Configurator, to start to modify it. While finishing, compile it & download both keymap.json and firmware.
For more information of how-to of the site, please visit this article in ErgoTaiwan (zh-TW) :
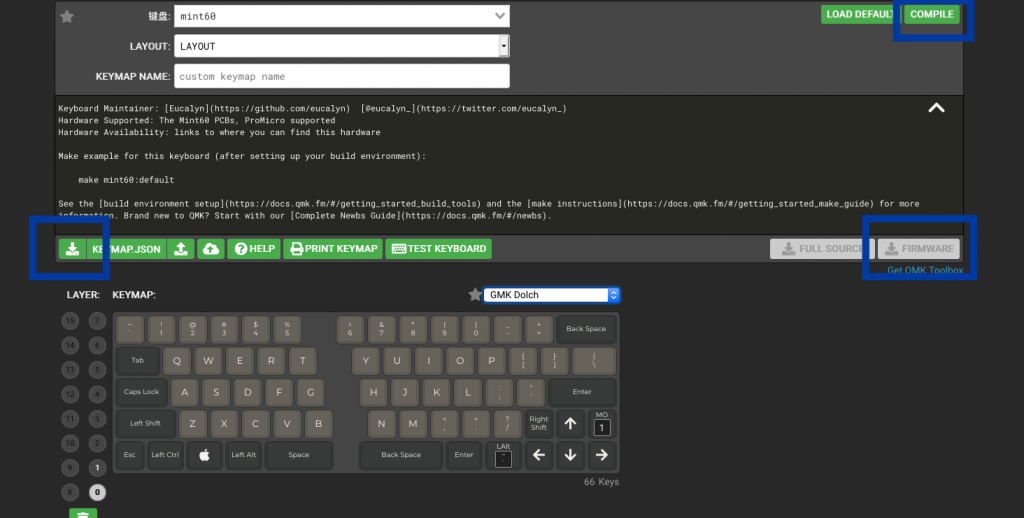
click compile first, then click two buttons below (not the full code one)
Making sure in your own localhost are one .json file and one hex file, you are able to go to next step.
Setup Environment
If you have not install brew yet, please access homebrew official site, and install it. Then open terminal and type these commands:
$ brew install qmk/qmk/qmk
$ qmk setup # and y for all question
$ brew tap homebrew/cask-drivers
$ brew cask install qmk-toolbox
Flash!
-
goto
~/applicationfolder and openQMK Toolbox.app, if you happen to unverified developer, you could right click it and click open to ignore it. -
click the open button on the top of window, then navigate to the .hex file we download earlier.
-
Make sure Mint60 is connect to your Mac.
-
Click the red button under the Mint60 with a thin bar, and you will see this message in the terminal below:
*** Caterina device connected Found port: /dev/cu.usbmodem143201
At this moment, you could just click the flash button, and wait for some seconds. Then you might find the keyboard has finished the flash progress.
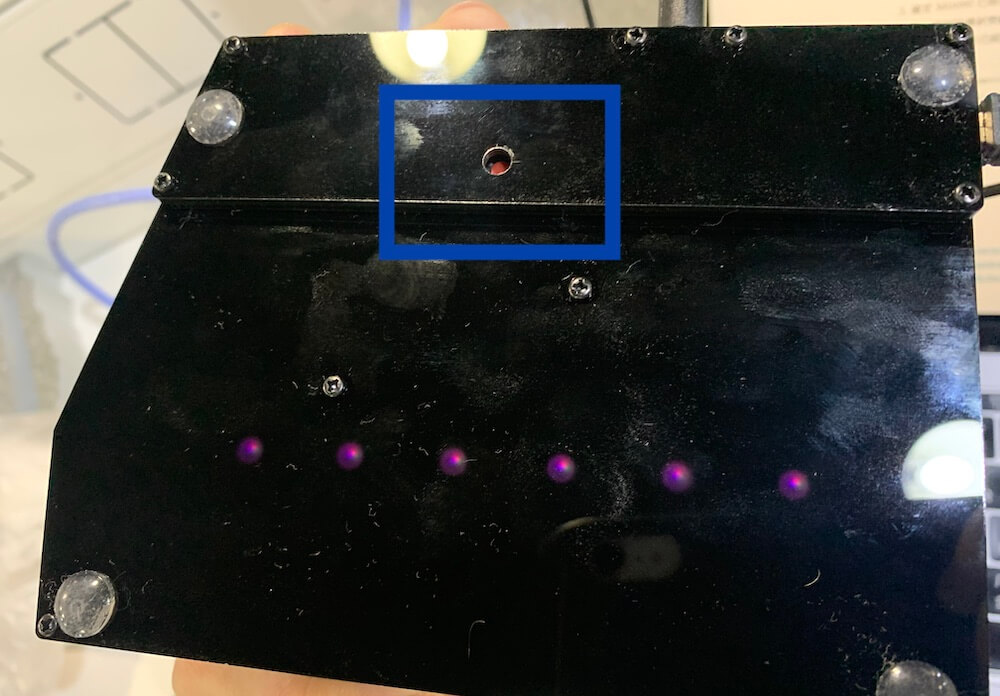
雖然是個按鈕,但沒有想像中好按,要多嘗試幾次。
And last, enjoy it!